Portal Settings
The Portal Settings page allows you to change various settings that affect how your clients interact with the Client Portal and App. All of the settings are listed below with a description.
In This Article
- Client Portal Tag
- Allow Clients To Create Account
- Private Messaging Enabled
- Show Sitter To Clients
- Portal Notification
- Pet Parent Onboarding
- Show Paid Invoices in Portal
- Show Unpaid Invoices
- Show Prices in Portal
- Allow Tipping In Portal
- Force Required Fields
- Customize Additional Details Field
- Require Credit Card
- Require Pet Vaccinations
- Client Service Request Limits
- Change/Cancellation Request Type
Check out a short video from our Onboarding Team on the Portal Settings section!
Client Portal Tag
This is the URL that your clients will use to access your Client Portal website. You can leave this blank, and clients will simply log in via https://www.timetopet.com/portal. However, your company information will not be shown after logging in. Most customers will set their client portal tag to match their business name and add this as a link to their website, usually underneath a “Client Login” button in their Header section. For detailed information on adding your Client Portal tag to your website - review our Adding The Client Portal Tag To Your Website help article.

Allow Clients To Create Accounts
By default, clients are unable to create their own accounts. Opting for "Yes, Accounts Require Approval" enables clients to create their own accounts, but the accounts remain pending until approved by an administrator. Alternatively, selecting "Yes, Auto Approve Accounts" gives clients the ability to create and access their accounts instantly without the need for administrator approval. Such accounts are automatically added to your Client List, ensuring immediate access upon submission of the New Client Form.
To learn more about this setting and allowing clients to create their own accounts, check out the following articles:

Private Messaging Enabled
When enabled, Admins can send and view “Private Messages” to clients not visible by staff members. Review our Private Messaging help article for more information.

Show Sitters To Clients
When enabled, clients can see who their assigned staff member is for upcoming events.

Portal Notification
When enabled, Time To Pet will show your clients a banner notification at the top of every page in their client portal or app. This is most commonly used for announcements you would like to make to all customers, such as “Please request holiday services ASAP.”
Portal notifications have three states:
Not Shown – Will not be displayed in the Portal.

Visible – Visible in the Portal forever.
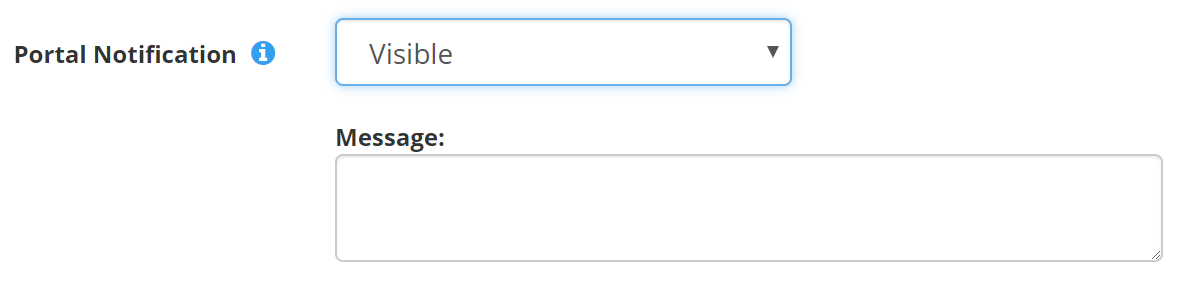
Visible With Expiration Date – Visible until the specified expiration date is passed (the message will be displayed on the expiration date, but not after).

When visible, the Portal Notification appears like this:

Pet Parent Onboarding
Our Pet Parent Onboarding tool lets you build a customized onboarding experience for your clients. This tool helps guide your new clients as they create their accounts and complete the information important to your business. When the options below are enabled, new parent parents will be directed to complete all the required information as they are activating their account for the very first time. For more information (including how this is shown to pet parents), please review our help article on Pet Parent Onboarding.

Sign Agreement - If you have Client Agreements enabled, your clients are prompted to review and e-sign any required agreements your business has created.
Update Info - This step prompts your clients to review and update the client fields you have enabled. This information normally includes contact information, address information, etc.
Add Pet - This step prompts clients to add pets and update pet information. Clients can add multiple pets during this step.
Payment Method - This step prompts your clients to add or update a payment method.
Welcome - This final step allows you to create a custom “Welcome Message” shown to your clients at the end of the Pet Parent Onboarding tool. A link to download the Time To Pet client app is also included here.
Show Paid Invoices In Portal
When enabled, clients can access their “Paid” invoices in the client portal. If payments and tipping are enabled, clients will be able to add tips to their “Paid” invoices as well.

Show Unpaid Invoices In Portal
When enabled, this will determine which unpaid invoices are shown to Clients. To learn more about Invoice Statuses, review our help article.

Show All Unpaid Invoices - All unpaid invoices will be shown to Clients.
Show Only Due Invoices - Only invoices due today or in the past will be shown. Note - Emailing an invoice through Time To Pet will also make it visible with this setting.
Show Only Emailed Invoices - Only invoices emailed through Time To Pet will be shown.
Never Show Unpaid Invoices - Unpaid invoices will never be shown to the Client.
Show Open Payments + Credit In Portal
When enabled, clients can see open payments (have a balance remaining) that can be applied to future Invoices as well as their Credit Balance if above $0. This will be labeled "Available Payments" in the Portal. Review our Understanding Open Payments And Credits In Time To Pet, help article to learn more.

Show Prices In Portal
When enabled, clients will be able to view the prices of your services when submitting a service order request.

Allow Tipping In Portal
To enable or disable your clients' ability to add tips, navigate to Settings > Client Settings > Portal Settings. When enabled, clients will have the option to add a tip to an invoice when making a payment, or they can add a tip to paid invoices. For more information, check out our help article on Tipping In Time To Pet.

Force Required Fields For Scheduling Requests
It can be hard to pet sit when you don’t know a client’s address. This option allows you to force your clients to fill out required profile information before any scheduling requests can be submitted. By default, in Time To Pet, only the client’s name is required. You can, however, make any field required in the Custom Field configuration.

No - Missing required fields will not be checked.
Yes, Client Info Only - The system will only verify that the required fields are all filled out in the My Info section.
Yes, Client & Pet Info - The system will verify that My Info and each pet have all required fields filled out.
Yes, Client/Pet Info & Require at least 1 pet - Not only will the system verify that all required fields are filled out, it will also verify that the client has at least one pet on file.
When requesting services and the required checks fail, your client will see a notification similar to this:

Customize Additional Details Field
Note: this is an optional customization. Companies can set the "Customize Additional Details Field" to "No," and the client will be shown the following field labeled "Additional Details":

The Title field is for entering the name of the notes field. The Description field is for ending the description to help clients know what they should include.

The above example would display to the client this way on their client portal and app:

Require Credit Card To Request Services
If set to Yes, this setting will require a client to have a credit card on file before requesting services. This setting will only take effect if your company has Credit Card Processing enabled.

Please Note - In certain circumstances, a client will be blocked from removing a payment method from their profile:
- The client only has that single payment method on file, AND
- The company has Require Payment Method to Request Services set to "Yes", AND
- The Client has at least 1 invoice with an unpaid balance.
Require Pet Vaccinations To Request Services
If set to Yes, this setting will require a client to have all of their Pet Vaccinations up to date before they can request services for that specific pet. This setting will only take effect if your company has Allow Clients to Manage Vaccinations (found in Client Settings > Vaccinations) enabled.

Client Service Request Limits
You can prevent customers from submitting service order requests without enough advance notice by using the tool.

Change/Cancellation Request Type
This setting controls whether your clients can make change and cancellation requests on specific visits (which then have to be approved in Dashboard) or if they have to send you a general message describing the change they would like to be made.
Client Sends General Message

This setting will show a text box when the client makes a change or cancellation request in the Client Portal or Mobile App. The client can include the details of their request within this box to be sent to the admin to review.
Client Makes Requests Against Specific Visits

When selected, additional configuration options will populate for change and cancellation requests. This setting enables clients to select specific events in the Client Portal or Mobile app that they'd like to make changes to or cancel. The request is then sent to the admin to approve or deny.
Change/Cancel Request Limits
These settings allow you to prevent customers from submitting change or cancellation requests to existing visits without enough advance notice. Limits can be configured as no requests for the same day after a specified time, no requests for tomorrow after a specified time, or no requests earlier than a certain amount of hours in advance.

Auto Approve Cancel Requests
This setting allows you to optionally automatically approve cancellation requests.